|
| YT assembly, where gaskets needed |
| Author |
Message |
    
kayak
Advanced Member
Username: kayak
Post Number: 48
Registered: 06-2016
| | Posted on Wednesday, November 02, 2016 - 06:04 pm: | 


|
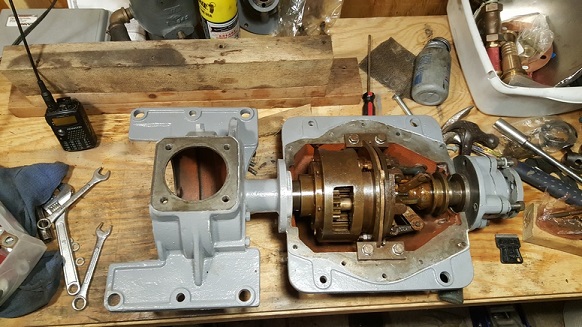
OK posting in case some other relative novice does the same thing, disassemble, clean, blast outside of housings, epoxy primer and then enamel paint, inspect and check components, reassemble a YT or similar engine.
I purchased permatex #82194 grey gasket maker (same as "hondabond") and have already discovered two places where a real gasket is needed, for clearance, which Ernie did tell me may be required.
First was the transmission housing. It went together fine but then the crankcase output flange would not enter the front opening of the transmission.
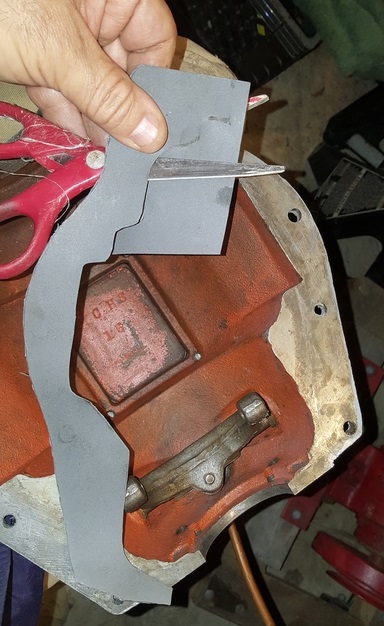
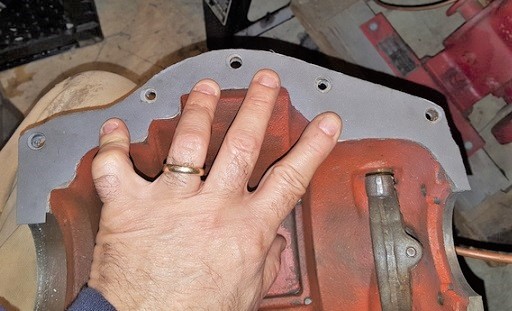
Second was test fit of the front crankcase cover, which did not allow any end play on the crankshaft and the crank was hard to turn with the cover in place.
I have some FelPro 1/32" gasket material which solved the problem on the transmission and should work on the crankcase cover.
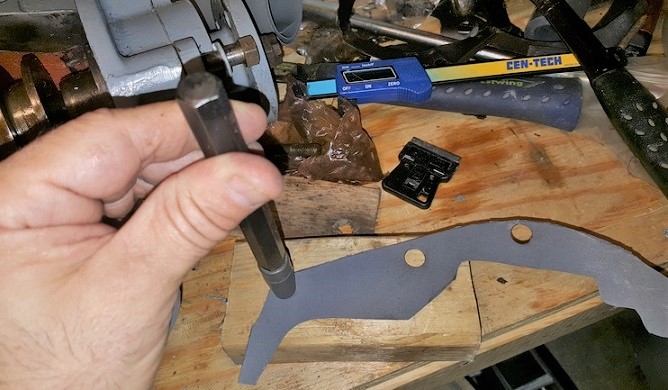
To make it, I cut the pieces to approximate shape and lightly tapped around the cast iron edges to mark it and in fact in most places it cut enough to pull apart afterwards. Then I used a gasket hole punch for the bolt holes, making them slightly oversized. A very thin amount of permatex (since I have it anyway) helped hold it in place and seal the ends.


 |
    
kayak
Advanced Member
Username: kayak
Post Number: 49
Registered: 06-2016
| | Posted on Wednesday, November 02, 2016 - 06:10 pm: | 


|
one more, gasket hole punch, has many sizes of ends.
 |
|
|
|


|


